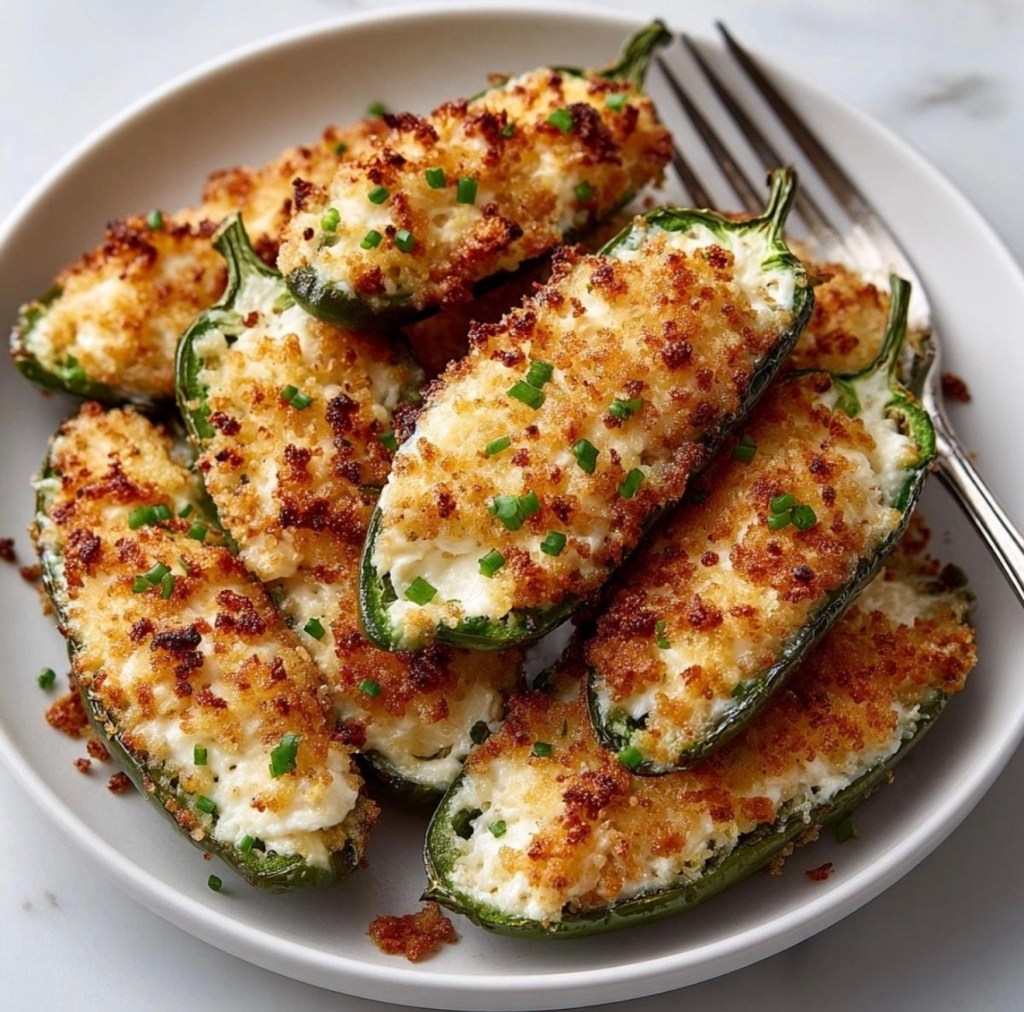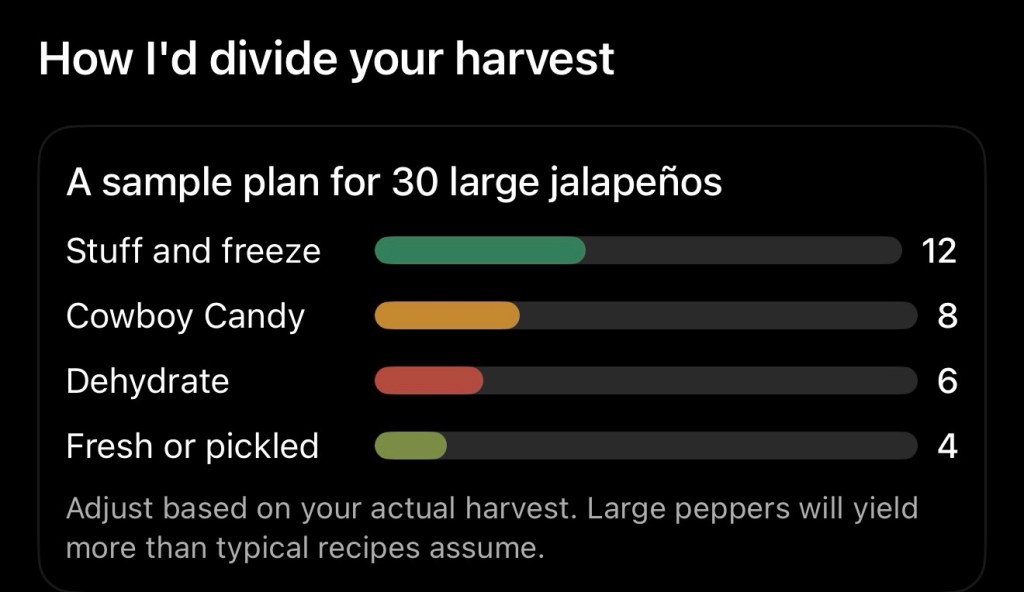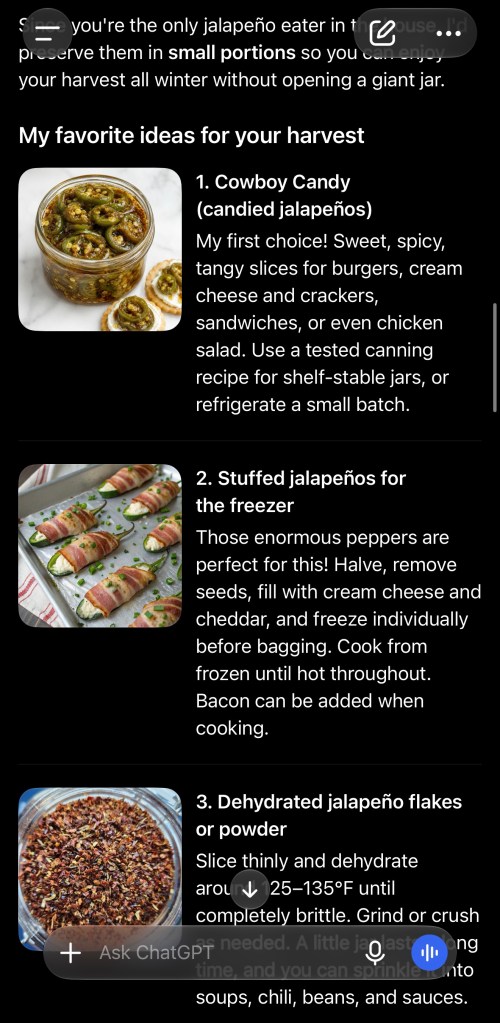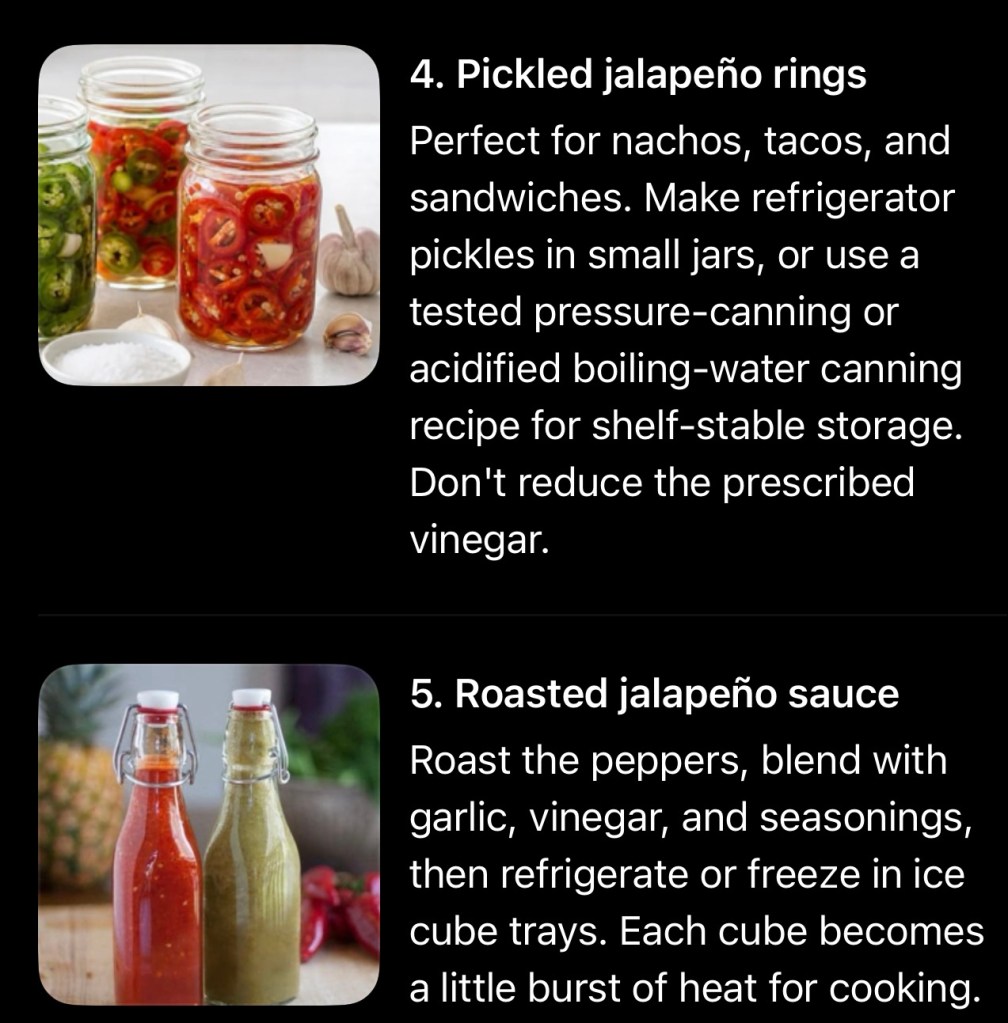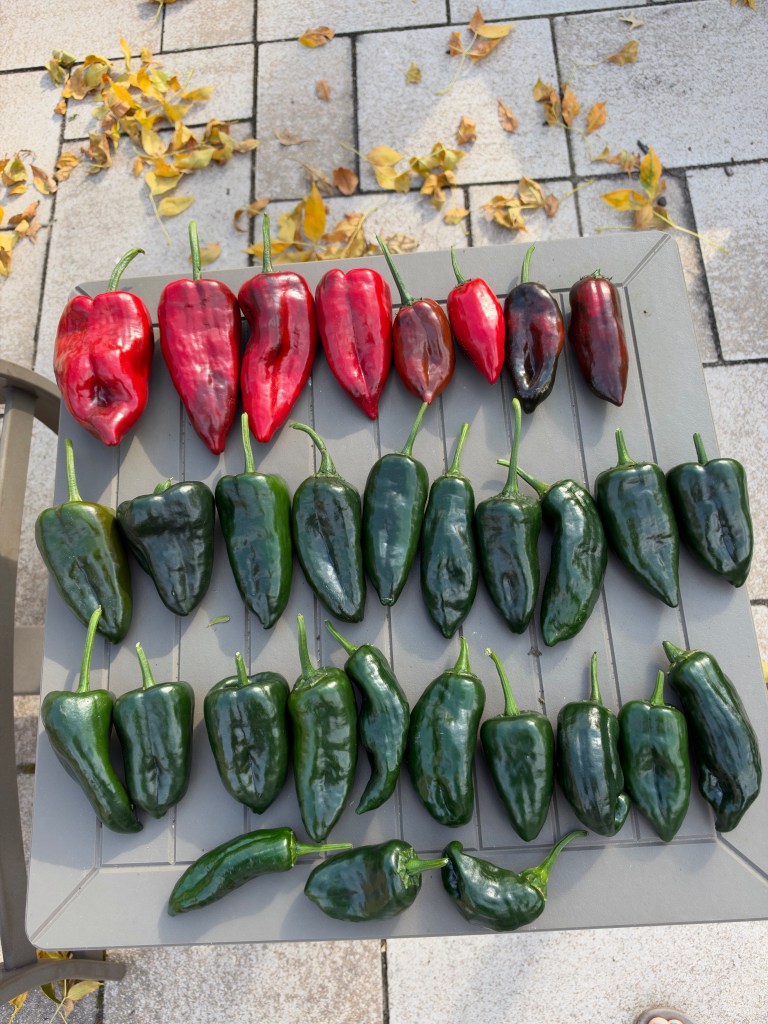
Oh, these enormous jalapeños are practically BEGGING to be stuffed! 😂🌶️
And since I don’t know how hot they are, I’m going to use a creamy, cheesy filling that helps balance the heat. Best of all, I can freeze them individually and cook just two or three whenever we want!
Three-Cheese Stuffed Jalapeño Poppers
35–40 minutes Freezer-friendly
Prep Time: 15 min
Cook Time: 23 min
Servings: 12 halves
Source: Arby’s Copycat Jalapeño Poppers
Ingredients
6 large jalapeños
4 oz cream cheese, softened
½ cup sharp cheddar, freshly grated
2 tablespoons grated Parmesan
1 small garlic clove, minced
¼ teaspoon smoked paprika
2 tablespoons chopped cooked bacon (optional)
¼ cup panko breadcrumbs
1 tablespoon melted butter
Instructions
Preheat oven to 400°F. Line a baking sheet with parchment.
Prepare peppers. Wearing gloves, slice lengthwise, keeping the stems if you like. Scoop out seeds and white membranes. This reduces the heat considerably, though it won’t eliminate it.
Make filling. Mix cream cheese, cheddar, Parmesan, garlic, paprika, and bacon if using.
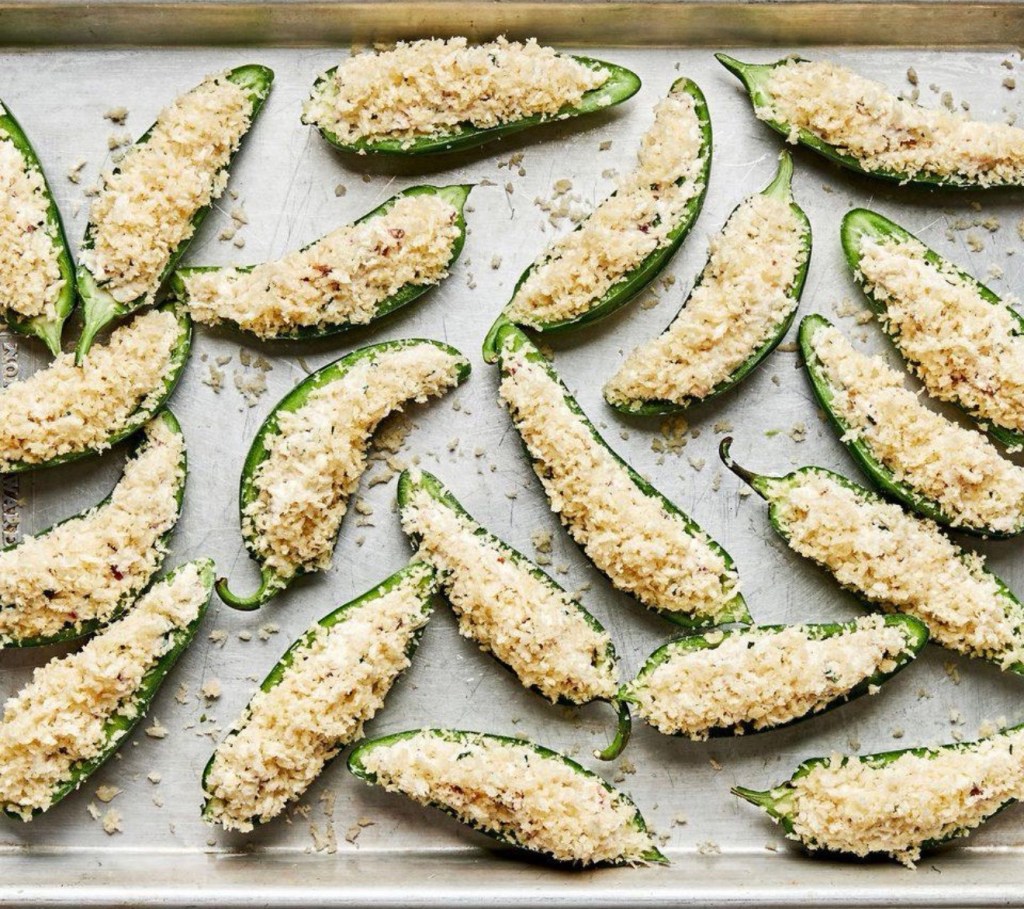
Stuff peppers. Fill each half generously, but don’t mound the cheese too high.
Add crunch. Mix panko with melted butter and sprinkle over the filling.
Bake 18–23 minutes, until the peppers are tender and the filling is bubbling. Broil briefly for extra browning, watching closely.
Freezing for one
Assemble the poppers but leave off the buttered breadcrumbs. Freeze on a parchment-lined tray until solid, then transfer to a labeled freezer bag. Best quality within 2–3 months.
Bake from frozen: 400°F for approximately 25–30 minutes, adding fresh buttered panko before baking. Check that the filling is thoroughly heated.
My little twist for you
Try adding a teaspoon of finely minced sun-dried tomato to the filling. It adds a lovely savory tang and a little color.
And one more thing: before stuffing the whole harvest, cut a tiny piece from one pepper and cook it to test the heat. Jalapeños can vary enormously—even on the same plant!
If they’re exceptionally hot, you can blanch the halves briefly before stuffing, which also softens them.
I suspect these will be terrific in an air fryer, too: 375°F for roughly 8–12 minutes fresh, depending on their size.